Insulating a Crawl Space With FOAMULAR®
Recommended Products
- FOAMULAR® 150 2″-3″ thickness to meet Energy Code minimums
- FOAMULAR® 250 2″-3″ thickness to meet Energy Code minimums
Protective Gear
- Cut-resistant gloves
- OSHA approved safety glasses
Basic Tools
- Tape measure
- Utility knife
- Straightedge
- Caulk gun (for adhesive)
- 4″-6″ thin blade knife
Site Preparations
- Ensure that the substrate is clean and dry. Remedy all protrusions or surfaces that are not flat. For framed applications. Check that framing provides a flat, level surface. Repair or replace any warped or damaged framing.
- Remove obstacles to the work area including all potential trip hazards.
- Do not install during inclement weather.
- Verify that ladders and/or scaffolding are in safe, working condition.
Installation Instructions
- Floor of crawlspace should be covered by a poly vapor barrier with the seams overlapped 6″-12″ and sealed. The vapor barrier should also be sealed 6″-12″up the perimeter walls.
- Determine the orientation of the FOAMULAR® based on the height of the crawlspace walls. May be able to install horizontally with minimal or no fabrication. Fabricate boards prior to application of adhesive.
- Use Code Evaluation Report UL-ER8811-01 to determine if covering is required for your crawlspace.
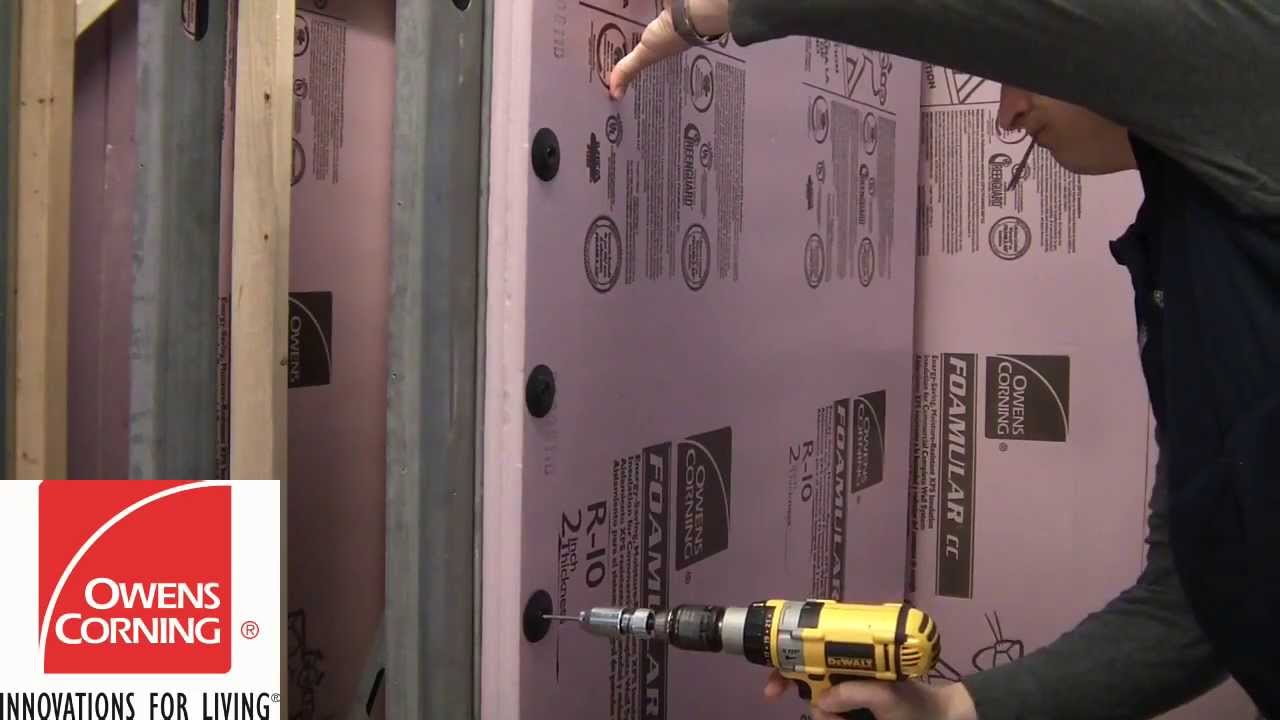
- Start in corner and work towards opposite end of wall. Apply adhesive to wall. With 3/16″ bead every 6-12″ on board. Cure time may vary; consult adhesive instructions for additional information.
- Press FOAMULAR® into place, tightly butting each successive board. 6. See note on termites in the Additional Considerations section.
Additional Considerations
- This product is not required to be installed by someone trained or certified by the manufacturer.
- As is, this product undergoes no chemical reaction and is in its final form when purchased. There is no need to evacuate the building during installation.
- FOAMULAR® cannot be in contact with hot surfaces such as chimneys or heat sources over 165 degrees F.
- Air Sealing—in applications that require air sealing, use Owens Corning® HomeSealR™ foam joint tape to seal joints between boards. Use Owens Corning® FlashSealR® foam flashing tape to seal FOAMULAR® to other substrates.
- Use HomeSealR™ to repair breaks. Replace foam into the board and then tape with HomeSealR™ to repair holes.
- Avoid leaving FOAMULAR® exposed for extended periods of time. • For use in exposed applications refer to Code Evaluation Report UL-ER8811-01 and local building codes regarding the need for an ignition barrier.
- To cut boards to size, score with box knife then snap at the score
- Use a 4″-6″ thin blade knife to cut holes or other penetrations through the FOAMULAR®
- Termites: in areas designated as very heavy infestation, model and local codes have specific rules regarding termites. These include inspection strips, chemical ground treatment and treated lumber or metal framing. Please consult local codes or code official for details.


